Birthday tickets for the Dnipro Children’s Railway / 2026
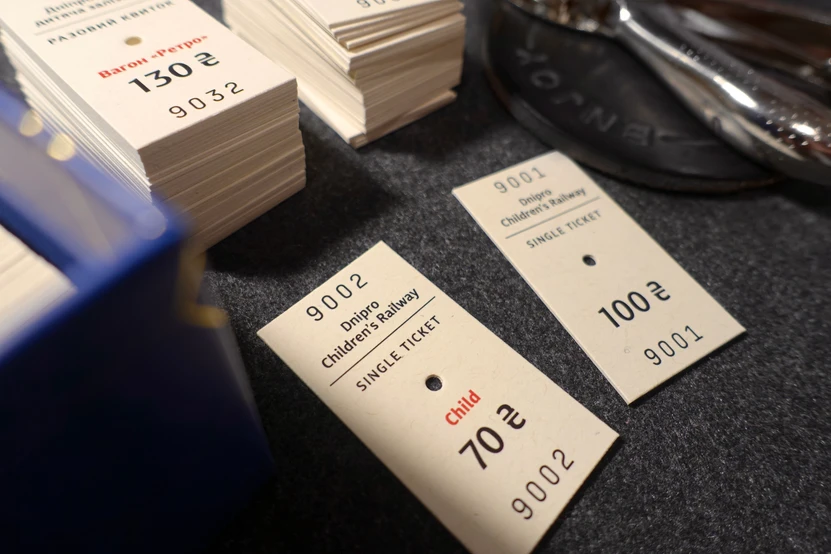
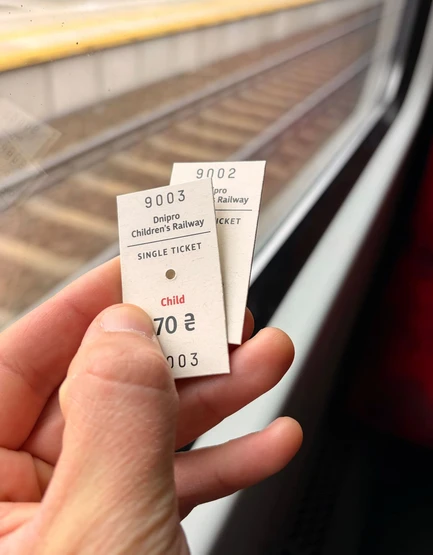
The Children’s Railway in my hometown of Dnipro, Ukraine, is a narrow-gauge railway in the city center, operating since 1936. Almost every kid in Dnipro knows it. It is a place to have fun, but it also serves as an institution where children can learn real-world skills and take their first steps toward a railway profession.
In 2016, I returned to my hometown, eager to make something useful. I saw the Railway in the park and noticed a few things I could improve. This turned into a self-initiated project. The best part of it was designing and printing thick paper tickets — before that, passengers only got plain receipts. Now they got a real ticket, punched by the inspector. It was a tradition I could help bring back.
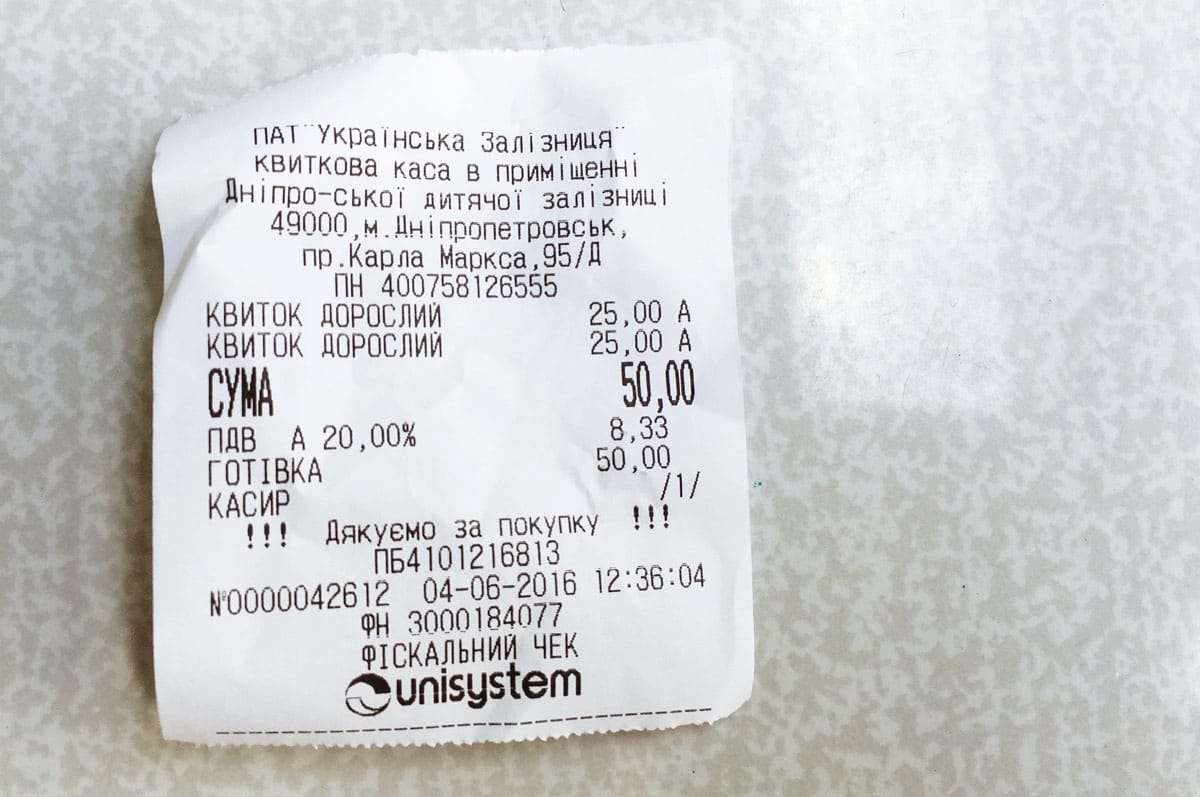
In 2026, the Railway was about to celebrate its 90th birthday. I live far away from my hometown now, but I really wanted to contribute again. I decided to design, print, and send a small batch of new tickets as a birthday present. This time, Claude helped me a lot with project management and design automation.
Projects like these are never a straight route from A to B. There are always surprises along the way. But a hard deadline and a flexible scope helped me finish on time and enjoy the process.
Here’s how it went, day by day.
-
Day 1: Getting started
The Railway’s 90th birthday was exactly two weeks away. I had an idea to print a small batch of tickets and send them from Warsaw to Dnipro. Time was short, and there were a lot of other things to do. Still, I really wanted to try. In the evening, I opened Claude and asked it to be my project manager for this small project.
Claude unblocked me. We clarified the task, looked for printers, chose one to start with, and prepared a list of questions for them. The print shop I liked was near one of my favorite coffee places, so I decided to visit in person, and ended the day looking forward to what would come next.
-
Day 2: Visiting the print shop
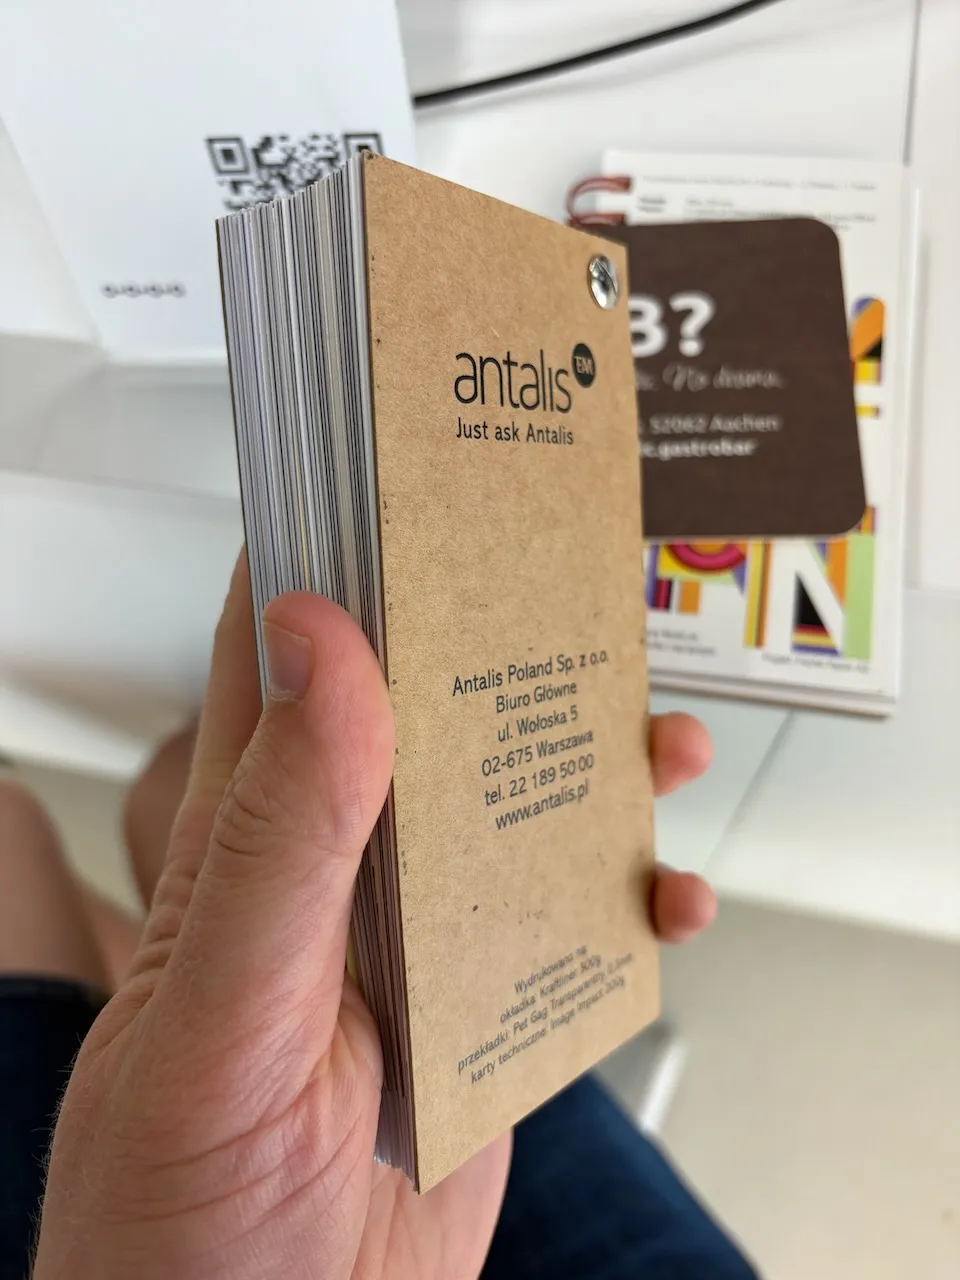
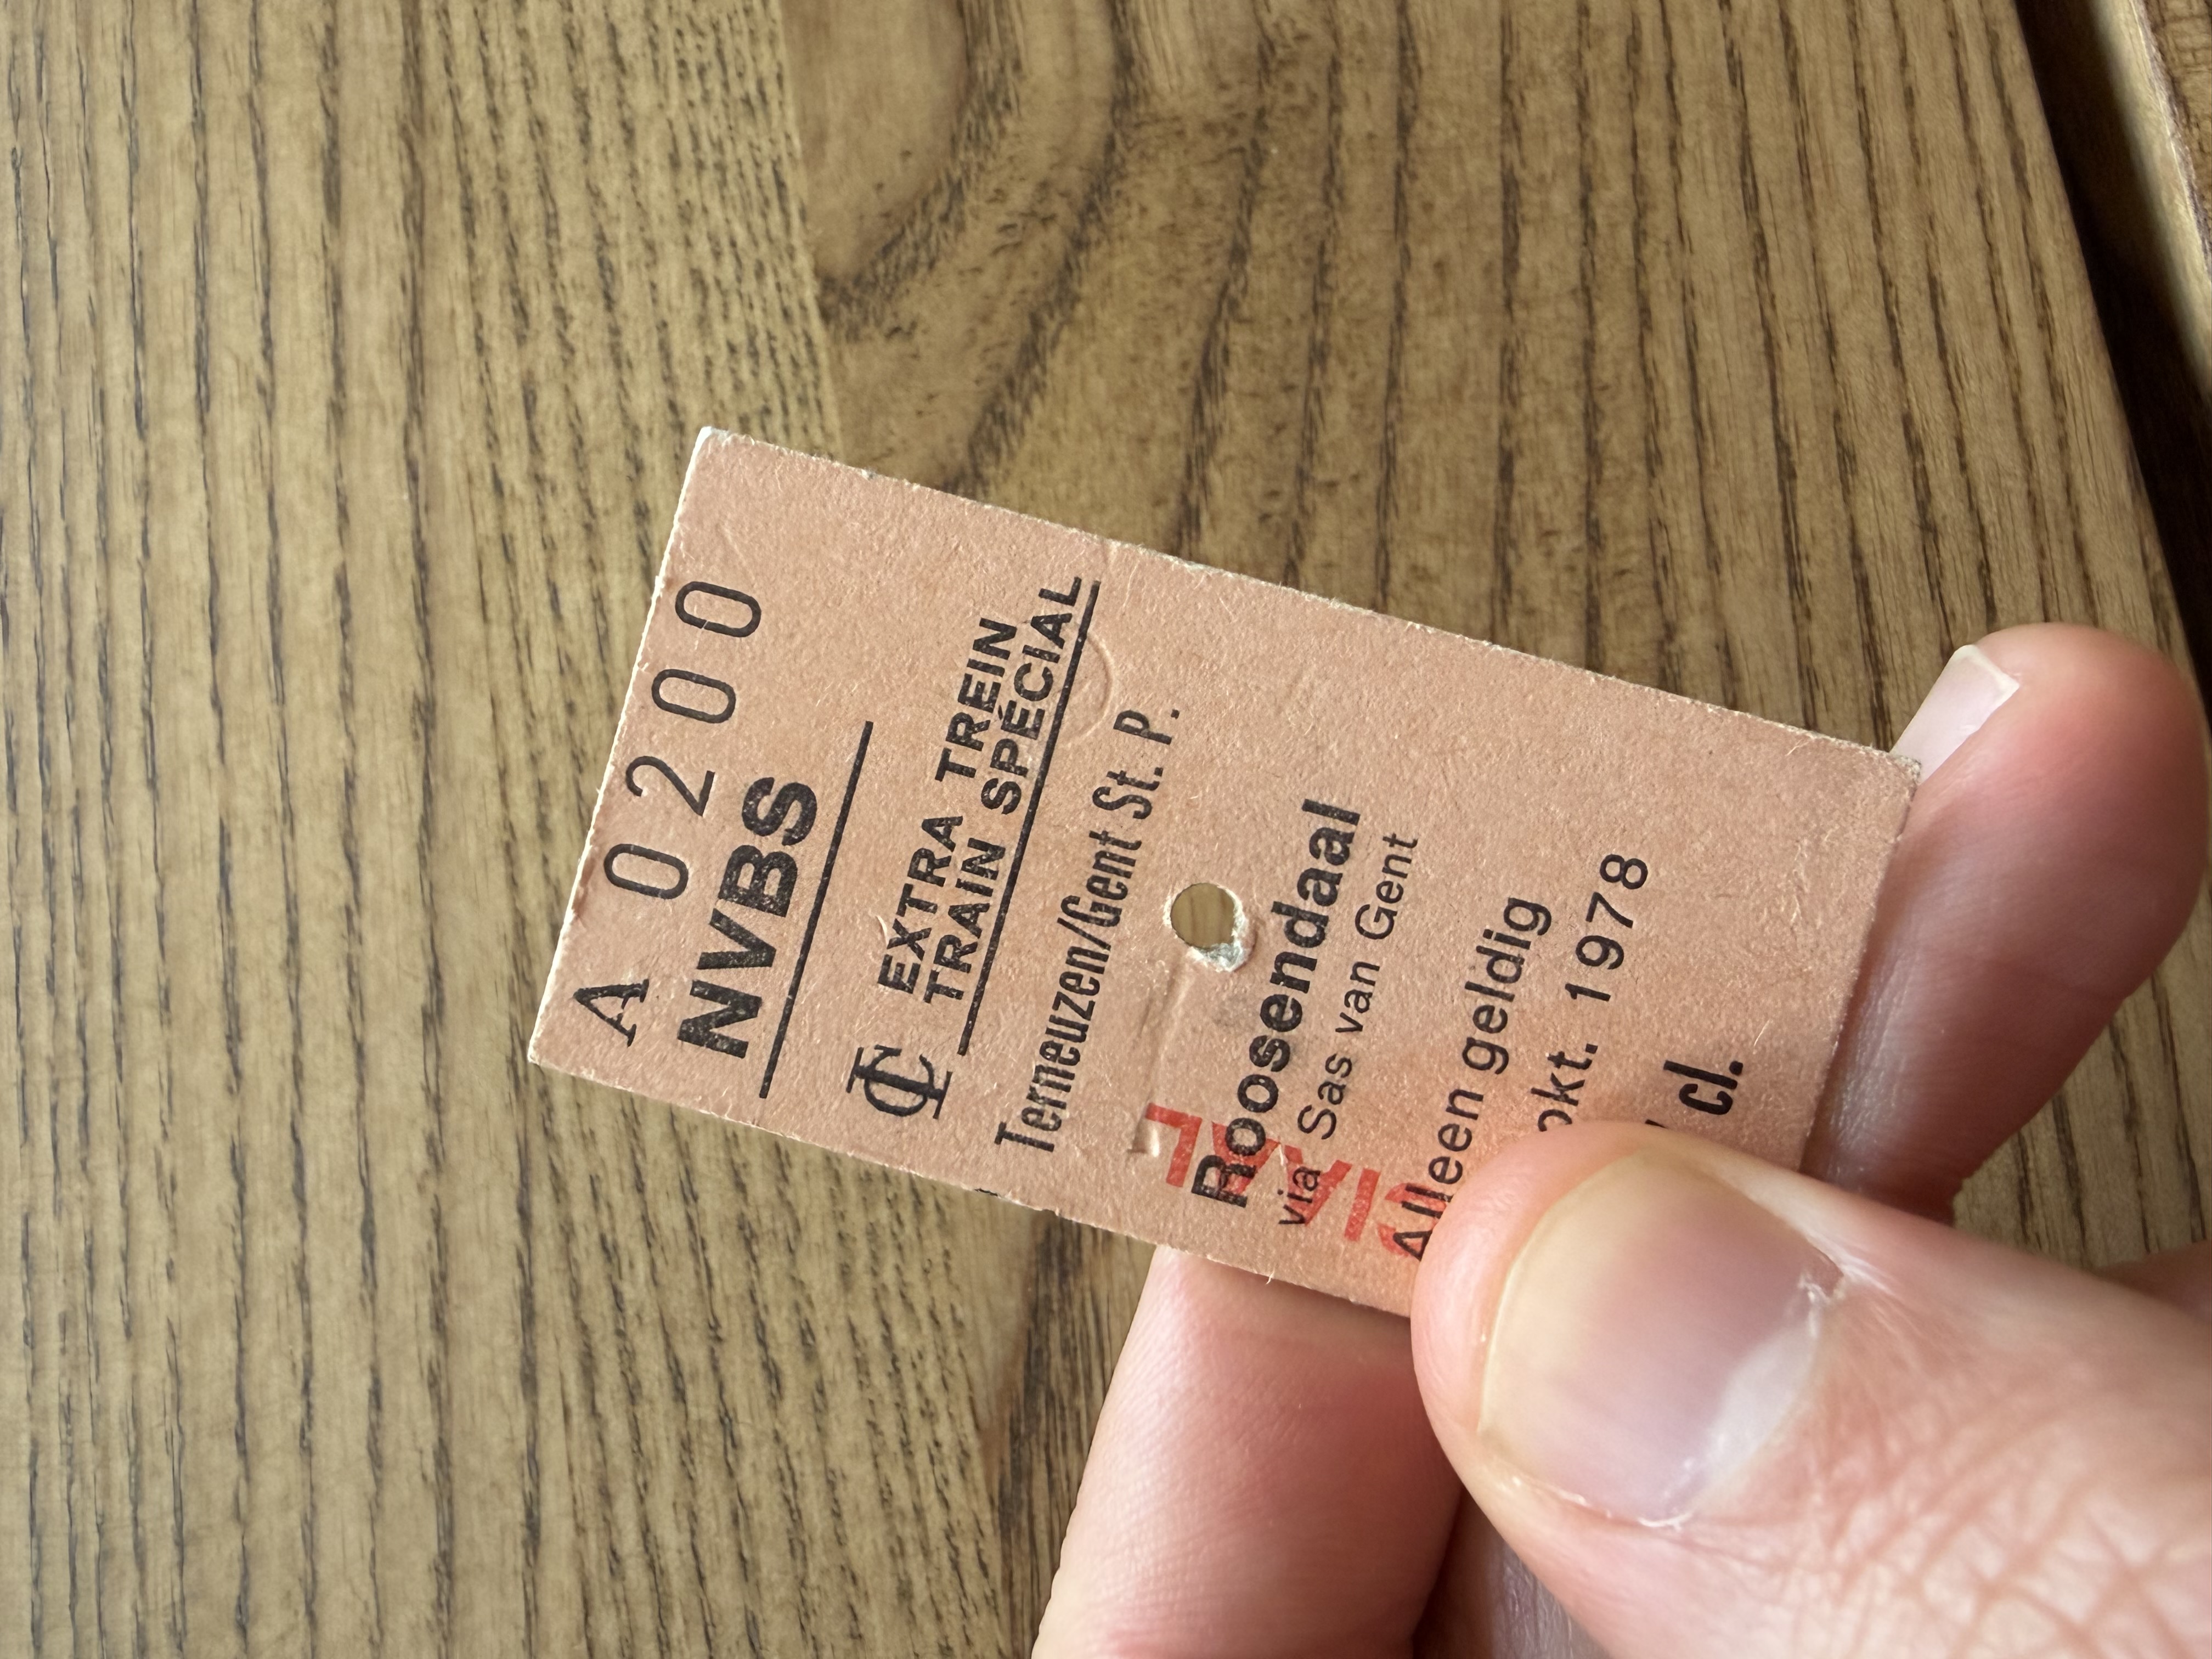
At the print shop, I showed a Dutch reference ticket from 1978, looked at the paper options, and got a price estimate. It turned out the shop is run by fellow Ukrainians, which made communication much easier.
They offered digital printing for my task and confirmed they could pre-punch a small hole in each ticket. I wasn’t very happy with the paper selection available on site, but they told me that with that paper, the whole order could be done within four hours. A great fallback to have!
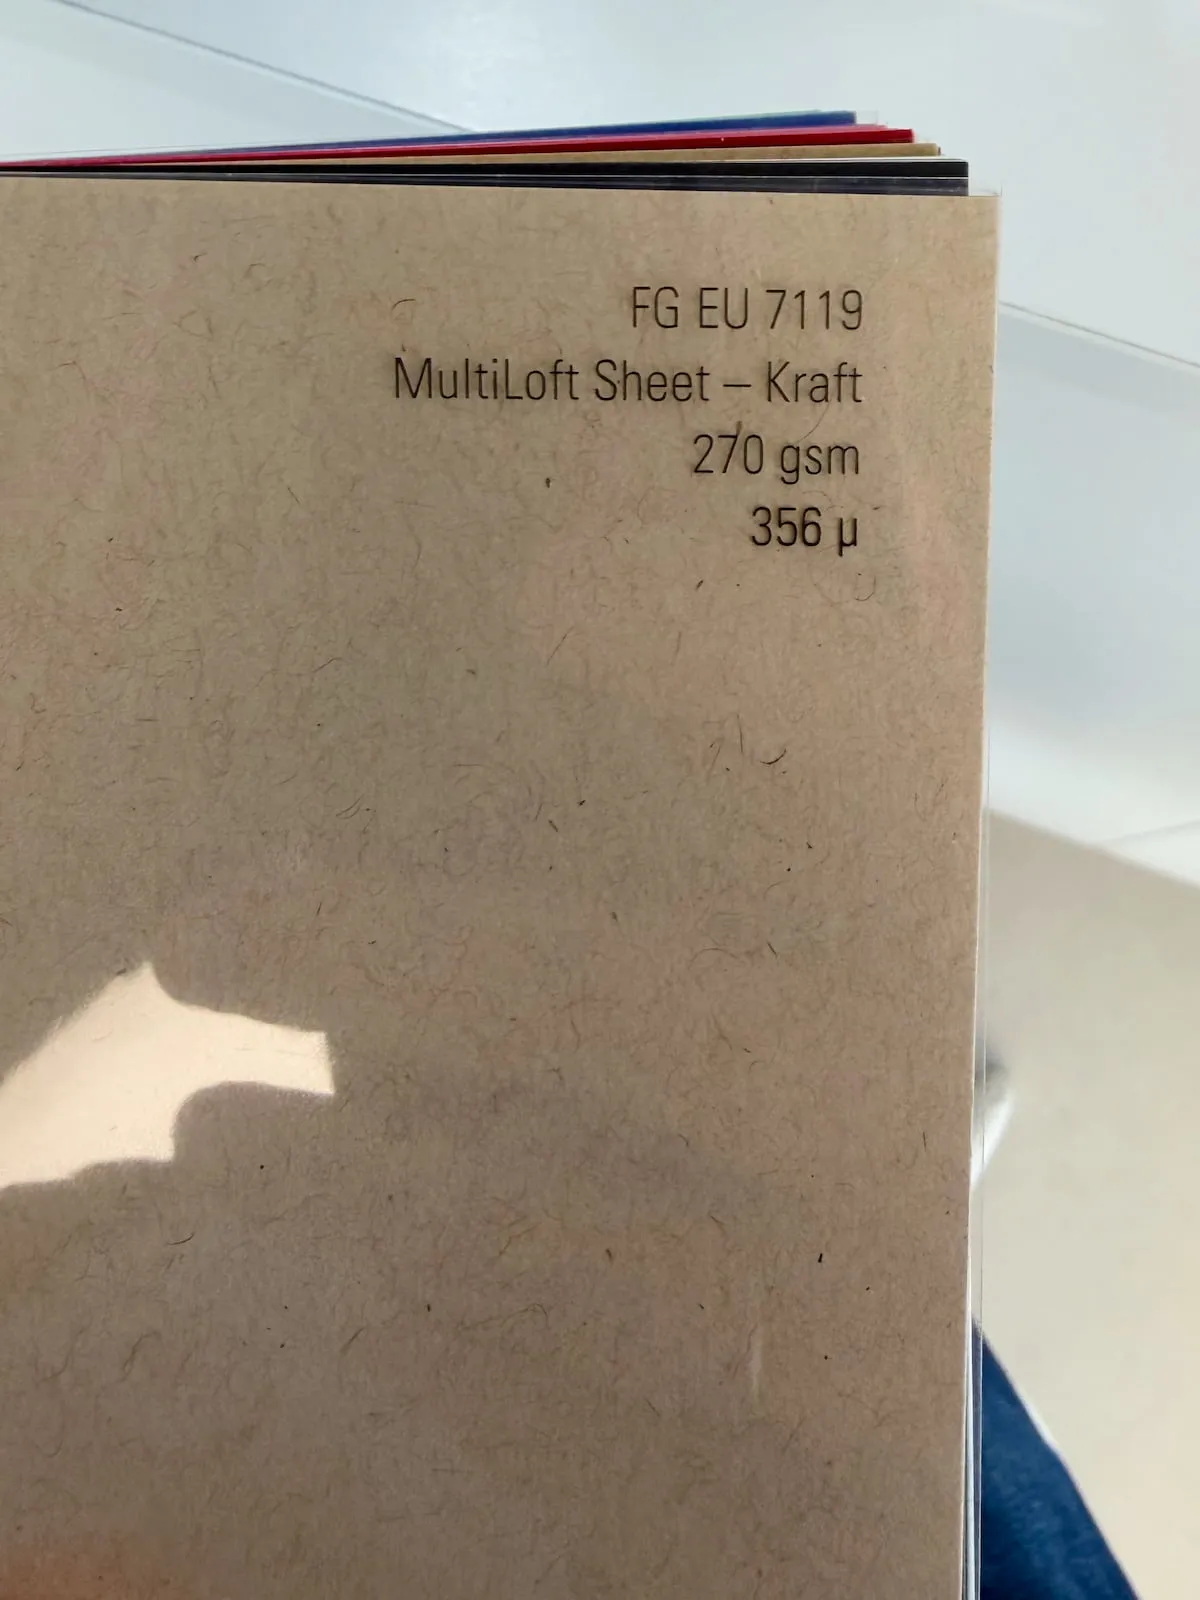
While visiting, I noticed another paper catalog in their office, with more interesting options. They asked me to contact them via email about those papers and the other details.
I wrote an email with all of my questions, asking about two papers I liked from that catalog. In the evening, a manager, Oleh, replied that the thicker one would require screen printing, with an option to do it in Ukraine.
-
Day 3: Choosing the direction
I replied that I’d prefer to print in Warsaw so I could see the results with my own eyes and make sure we’d finish on time. That meant sticking with digital printing and the first paper, a 356 μ Kraft.
-
Day 4: Discussing the paper
Oleh agreed with my suggestions and told me that the MultiLoft paper is designed to be glued like a sandwich, with a colorful layer inside. The resulting card would have three layers (3×270 g/m²), or 810 g/m² in total.
I had an idea: we could use two layers of the same paper! That way, we’d get a good thickness and still keep the ticket punchable by hand. I asked whether that was an option.
-
Day 5: Getting a quote and committing to it
Oleh confirmed that two layers would glue just fine. I got a new quote for a few different quantities and committed to printing 300 tickets.
The quote assumed two-sided printing and an extra fee for numbering. I clarified that we only needed to print on one side, and that I was ready to do the numbering myself to save some money.
I also asked about a test print, so I could see some real samples before printing the whole batch.
-
Day 6: Updating the design and testing an automation
Over the weekend, I worked on updating the ticket design and explored options for adding the numbering. I learned that Affinity had recently introduced AI automation, and I wanted to give it a try.
I successfully connected Claude to Affinity through MCP and ran some test operations. Here’s how it worked:
0:00 -
Day 8: Changing the paper and finalizing the file
Oleh replied with some news. The MultiLoft supplier had made a mistake, and the minimum order was much larger than ours. We needed to find a different paper, and quickly, to stay on time. Fortunately, he offered an alternative from their own stock, Woodstock Betulla. It was lighter in color, but Oleh confirmed they could still glue two layers of it. The price even dropped a bit. I decided to go with it.
In the meantime, I continued working on the file. Claude gently advised me to never be the bottleneck, and the file had to be ready by the end of the day anyway. Together we planned nine ticket series: adult and child tickets for regular and retro carriages (four types), the same four types in English, and one short series for free rides. Digital printing was the right choice, given so many variations.
An idea that came to me while working on it: every ticket number should be prefixed with
90, in honor of the 90th birthday.I made all the master tickets, and after a few tweaks and bug fixes, the automation produced 300 artboards ready to export.
It was fun. The file was ready on time.

The ticket numbers weren't centered perfectly, despite the monospace font. But I thought it was totally fine to leave such an imperfection. -
Day 10: Seeing the test samples
I received an email with some good news. The test samples were ready, and I could see them at the print shop!
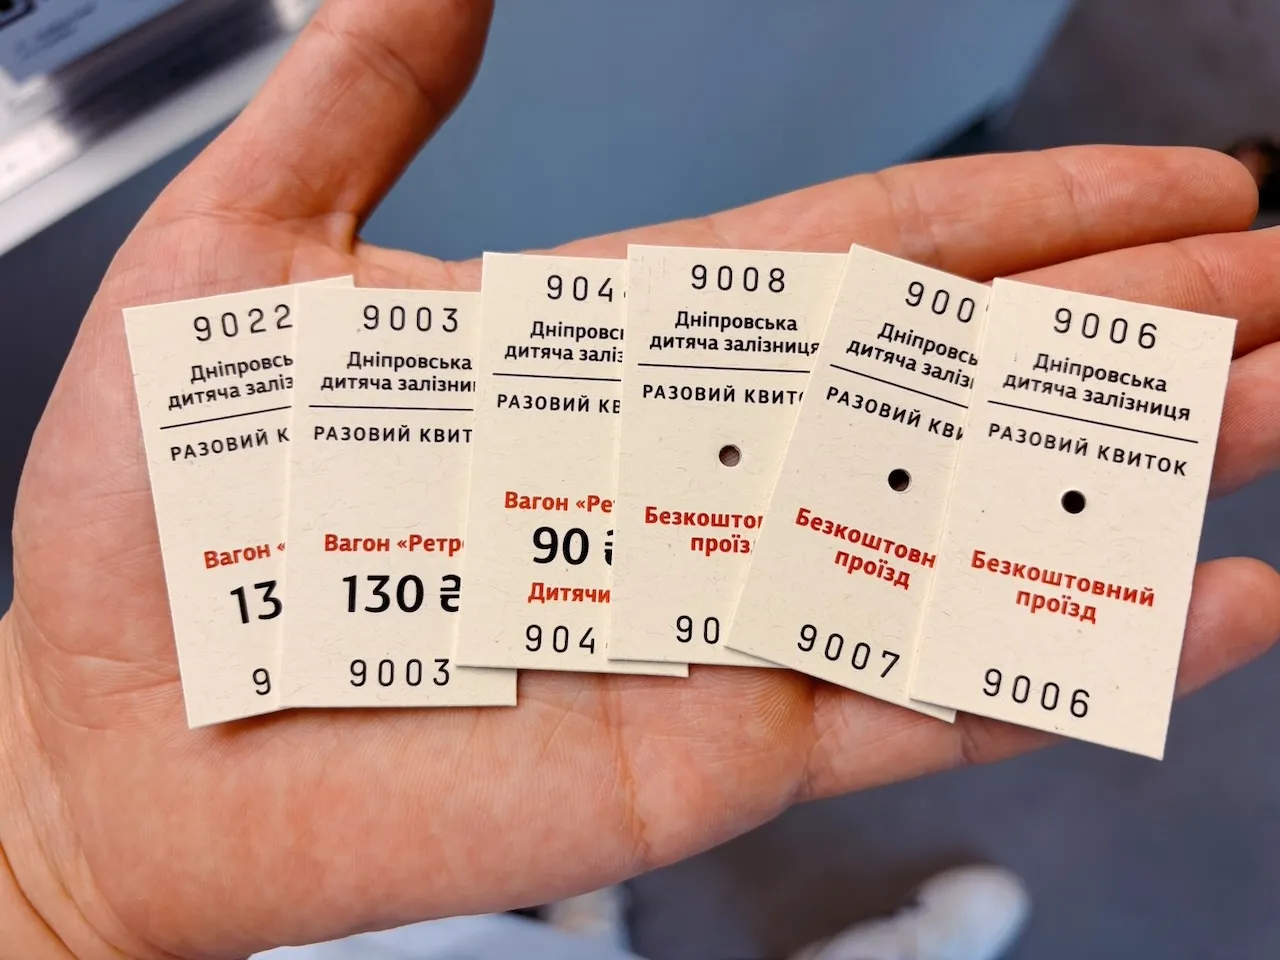
The paper wasn’t as dark as I had originally imagined, but still, the tickets looked promising. The two-layer idea worked very well. I approved printing the full batch.
After seeing the samples, I ordered two ticket punches to see how they’d handle a real ticket, and to add them to the gift box I was going to send.
-
Day 11: Getting the full batch
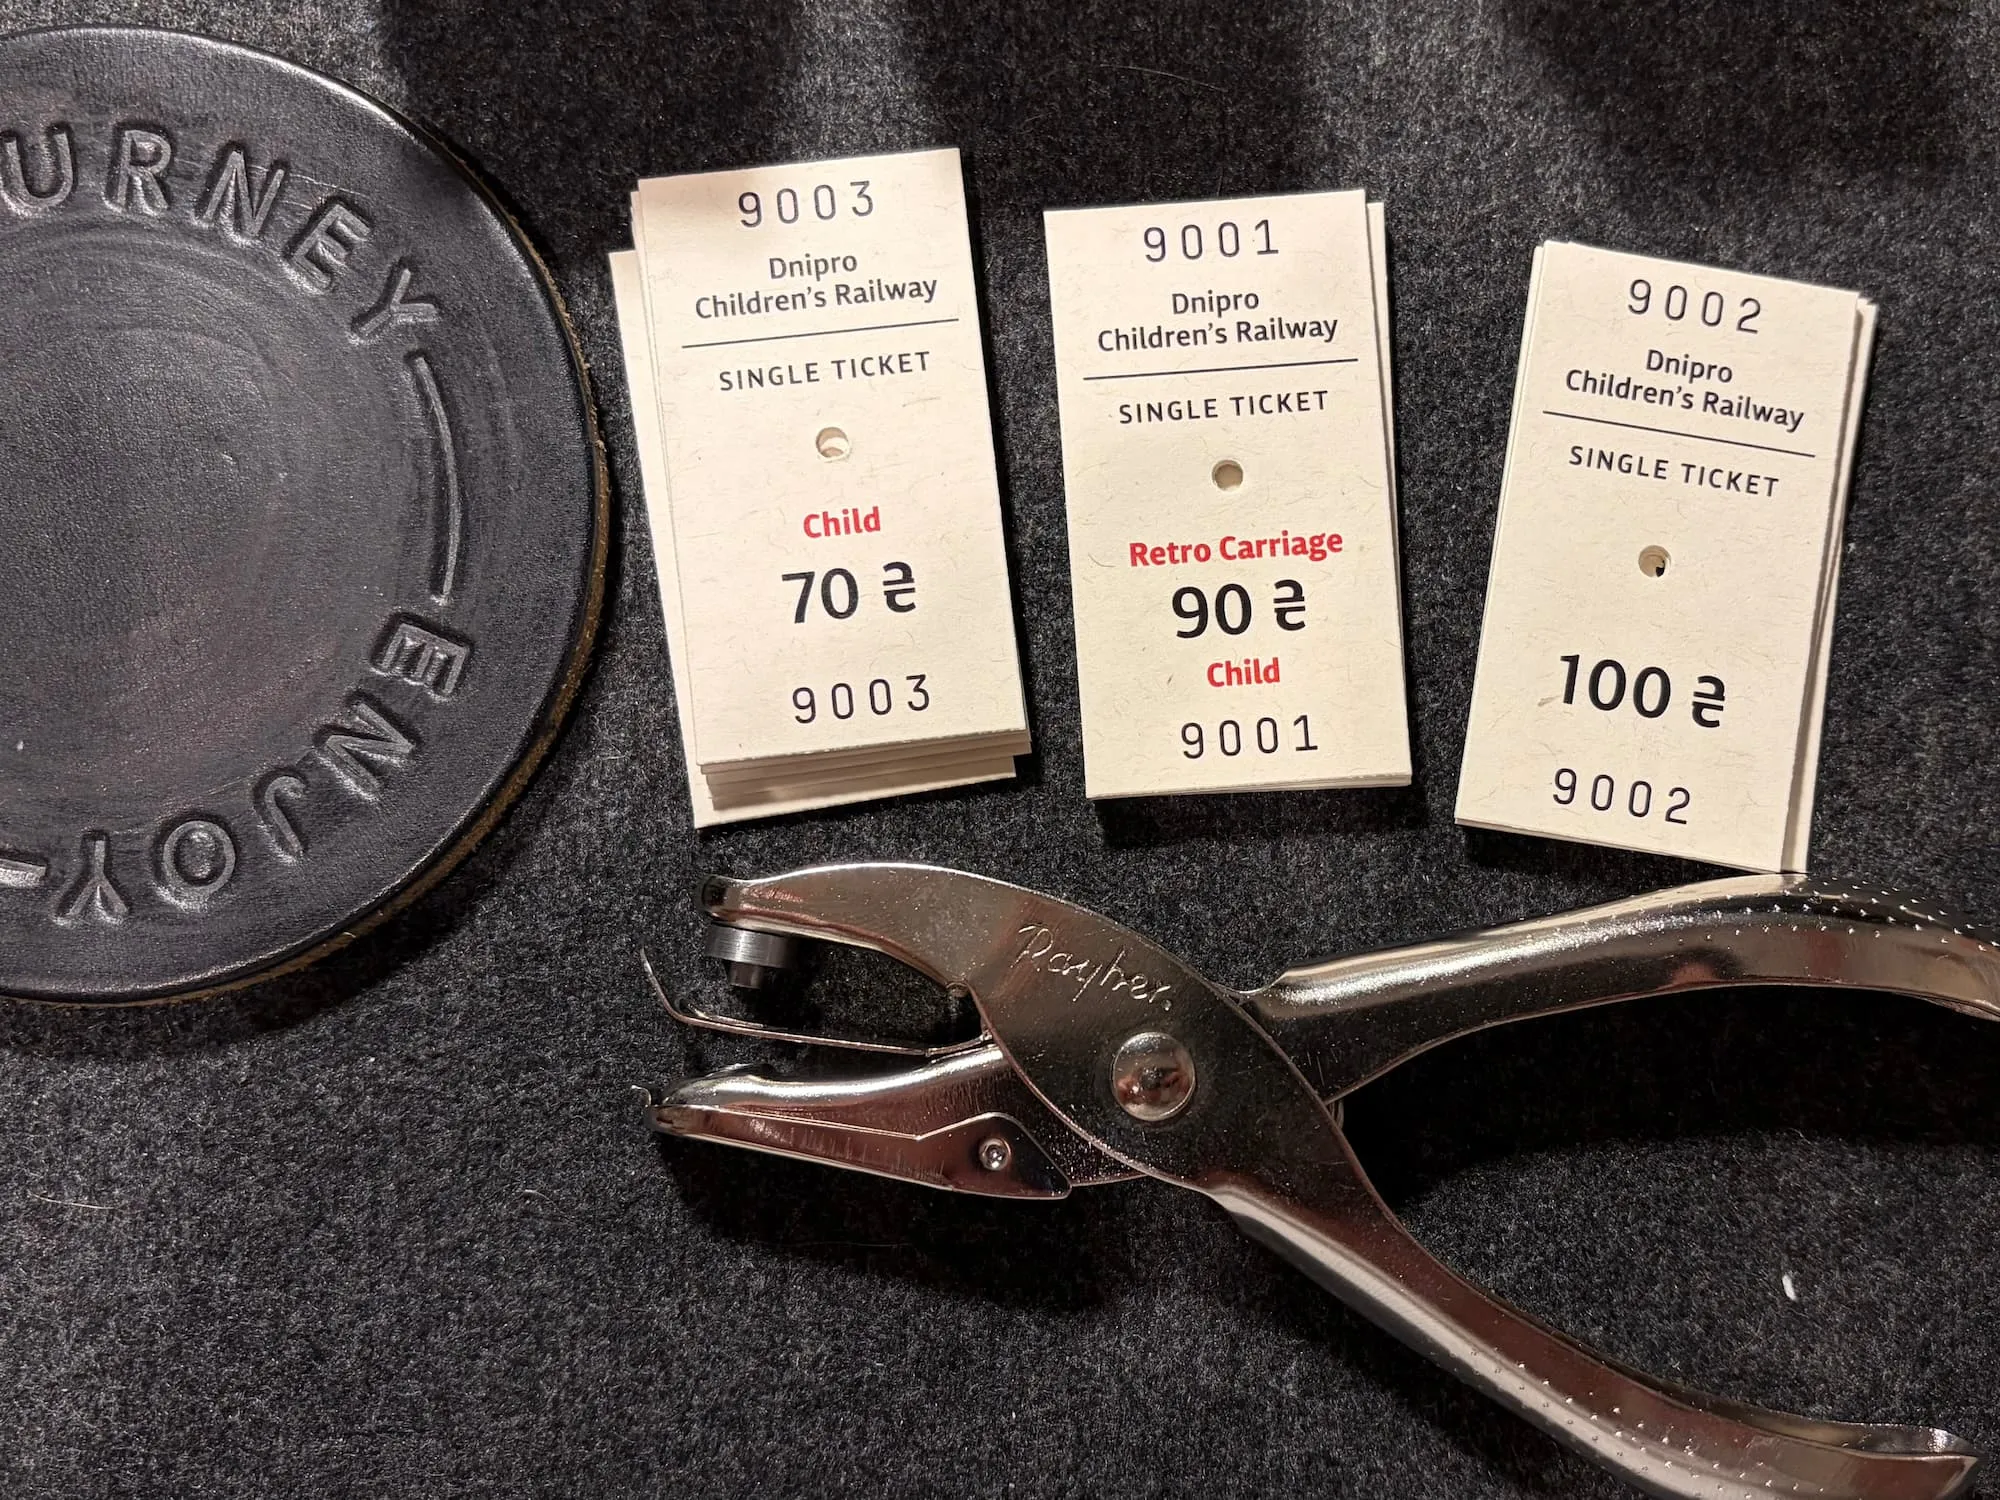
Got the full batch of 300 tickets from the print shop. We made it on time!
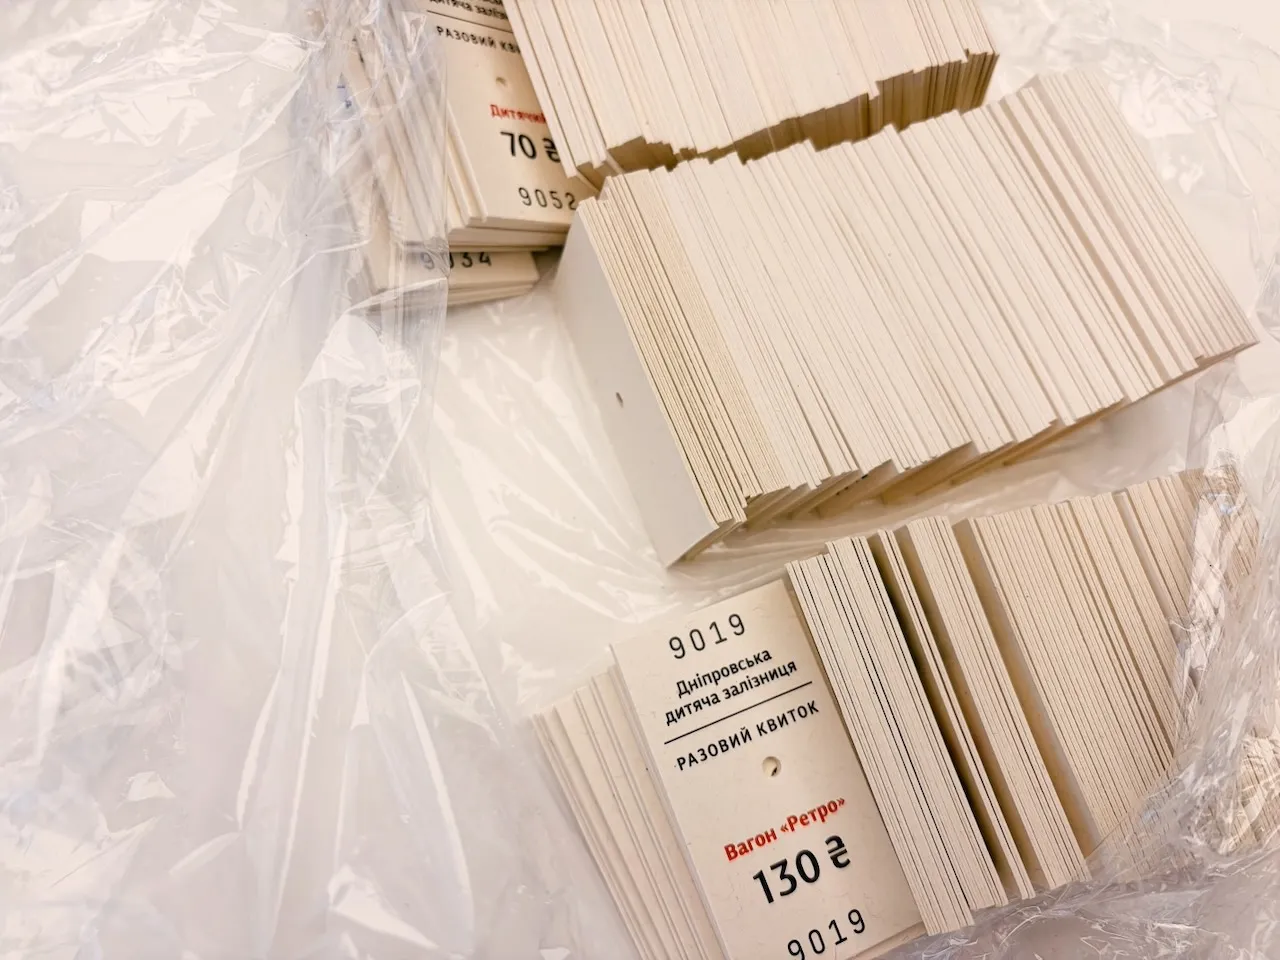
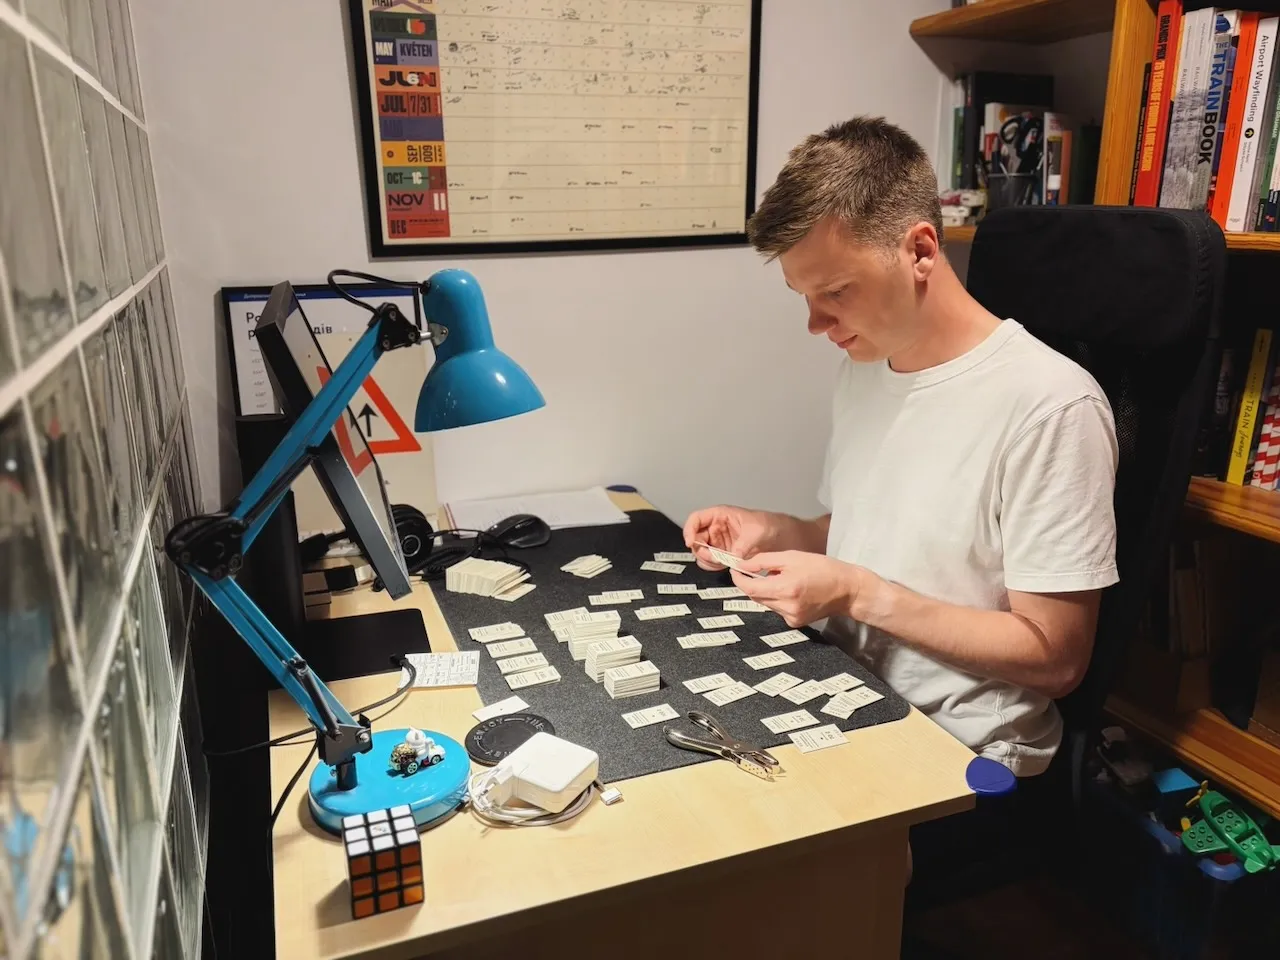
After coming back home, I sat down, checked the tickets more closely, sorted them properly, and took some photos.
-
Day 12: Punching it and packing it
I wanted to test whether the hand punch would add a second hole to the two-layer ticket without issues. It worked great!
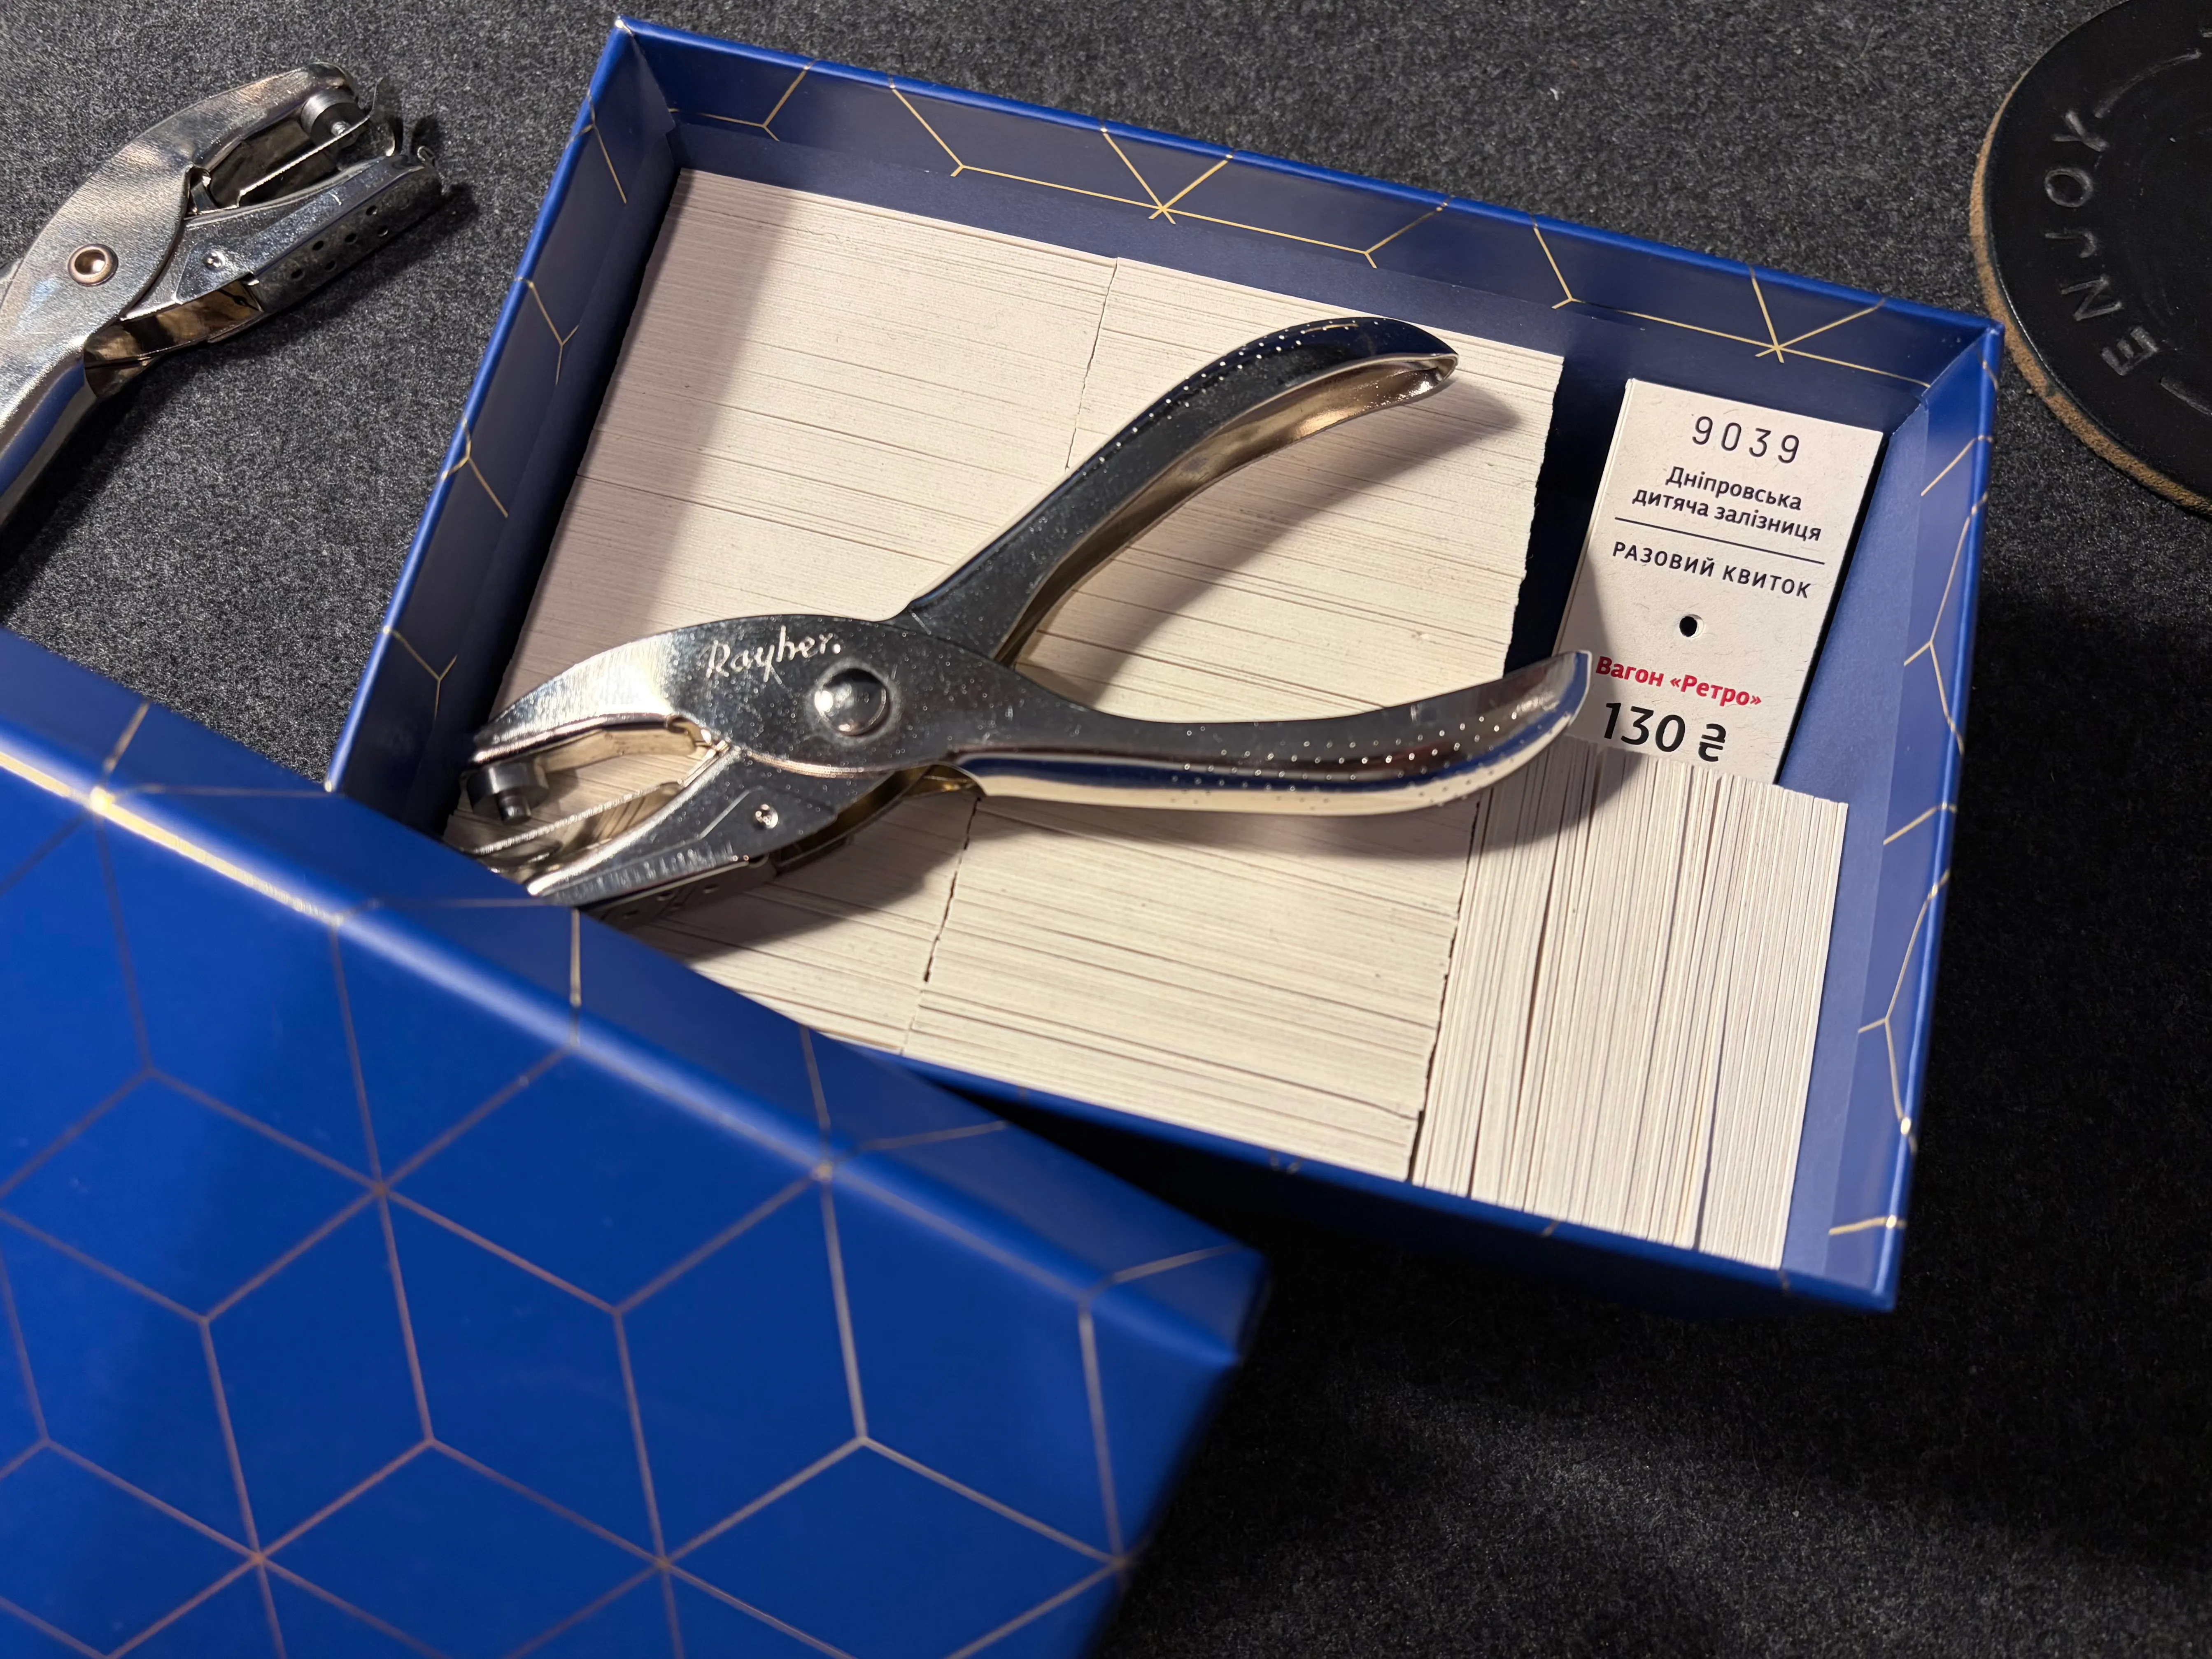
Later that day, I bought a nice box to put all 300 tickets and the two ticket punches inside.
For delivery, I asked my parents for help. Luckily, they were visiting Warsaw at the time, and their trip home was perfectly timed — the box would travel to Dnipro with them.
-
Day 15: The big day
The box traveled the most fitting way possible: by train. On the Railway’s 90th birthday, my mom handed the tickets over. The mission is complete.
This project was completely non-commercial. But working on it gave me something more important than money could buy: a sense of meaning, a feeling of contribution, and the simple joy of knowing that you can just make things.
The Railway thanked me warmly. People who work there enjoyed the tickets, and I couldn’t wish for more. I’m also thankful to Oleh and the Four Zeros print shop team, who treated this order with care.
I also enjoyed working with Claude as a project manager. There was always a clear next step and no waiting time wasted. Trying out MCP to do complex work using natural language was a great experience, too.
Ten years later, many of the changes from my first Railway project are still in use, and it makes me so glad. I miss the Railway dearly, and I’m really looking forward to coming back and riding its train again, with my two kids.
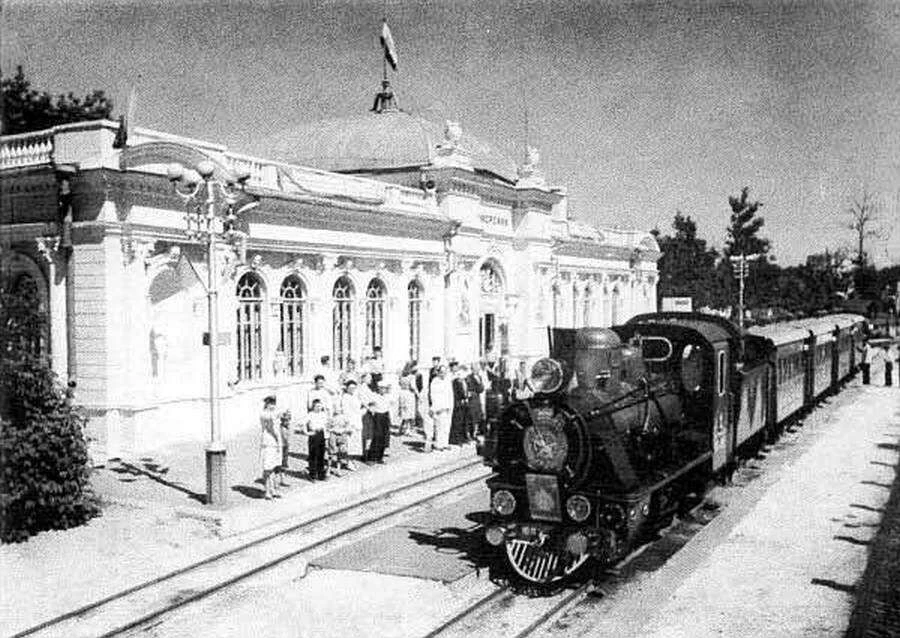
Dnipro Children’s Railway in 1955. The building is still in use — only the trains are different now.